Sprites
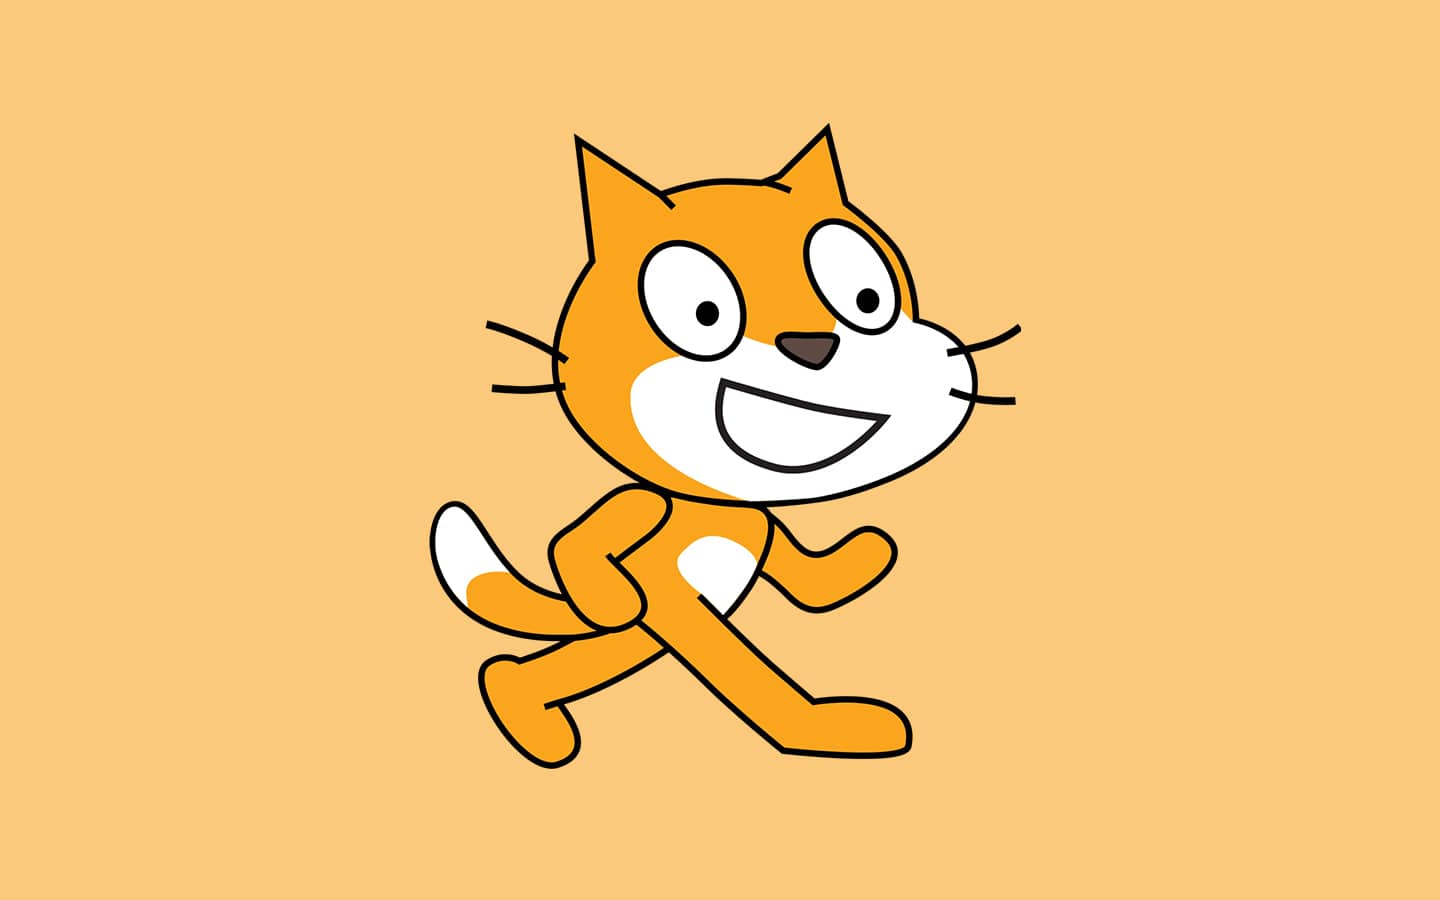
In Scratch, a Sprite may be anything from characters to animals to accessories. All of this is controlled by the code and code block explained in the next section.
A Sprite is included with every new Scratch project, and there is a library of other alternatives to pick from. After that, kids may rename Sprites, add new Sprites, and so on. Scratch sprites are animated graphics that kids may create and program in the Scratch environment. Scratch is a visual drag-and-drop coding environment for kids (as opposed to text-based coding).
Motion bricks are used to control how a sprite moves, looks blocks are used to modify how a sprite looks, and sound blocks are used to allow sprites to make sounds.
How to build a custom sprite in Scratch In Scratch, creating a character is known as “drawing a sprite.” The technique is simple and may be accomplished by following the procedures outlined below:
Click the “select a sprite” button in the lower right corner to choose a sprite.
Click “paint” to make a new sprite.
Assign a name to the new sprite.
Blocks of Code
Blocks are used to produce code in the shape of puzzle pieces in Scratch. Each data type (hat, stack, reporter, boolean, or cap) has its own form and slot to be inserted into, which prevents syntax errors. A set of linked blocks is referred to as a “script.”
Because they don’t need memorization like written instructions and don’t allow for syntax errors, blocks are often easier to work with than text-based programming.
The few types of blocks offered include Motion, Looks, Sound, Event, Control, Sensing, Operators, Variables, List, and My Blocks.
They have a medium-blue color and are used to regulate sprites’ movement. Only sprites are allowed to utilize them. There are a total of 18 motion blocks: 15 stack blocks and three rep blocks. Motion blocks control how a Sprite moves—slide, rotate, move, and so on. “Move 10 steps,” for example, may be used to move the Sprite forward 10 steps.
Look for blocks. It alters the look of Sprites by changing their color or size, as well as allowing them to communicate. For example, “Say Hello!” for two seconds or “Change the size by 10.” Look bricks are one of the 10 types of Scratch blocks. They have a purple colour and are used to keep Sprites under control. There are a total of 20 Look blocks, 17 Stack blocks, and 3 Reporter blocks. 14 are set aside for sprites, while four are set aside just for the Stage. This block category has the greatest usages, according to Scratch Statistics, with over 2 million.
Sound Blocks add sound effects to a Sprite and let you to play sounds, modify sound effects, and adjust loudness.
Blocks for sensing Sensing bricks are one of the 10 types of Scratch blocks. They’re blue in hue and used to identify different parts of a project. Three stack blocks, five boolean blocks, and ten reporter blocks are among the 18 Sensing blocks currently accessible.
Event blocks are used to inform sprites to start running code. They are colored bright yellow and are used to detect events that trigger scripts to run. A project would be unable to begin without the headwear blocks from this category, unless scripts were manually invoked.
There are now eight Events blocks available: six Hat blocks and two Stack blocks. It’s the smallest form of block. In Scratch 1.4 and before, all event blocks were classed as Control Blocks. After being given its category, Events blocks were originally referred to as “Triggers” in the Experimental Viewer and early versions of Scratch 2.0. On the other side, Scratch Day 2012 called the event “Events.”
Blocks of Control To create repeating animations or pauses between events, control blocks are employed. It gives you more authority over the code.
My Blocks is one of the 10 varieties of Scratch blocks (called More Blocks in Scratch 2.0). It holds the routines for the sprite that is now chosen. They have a pink hue to them. It is empty before any blocks are made, save for a “Make a Block” button.
Make a Block brings up a dialog box where you may write a process. Once OK is pressed, the new block appears in the palette and an empty definition appears in the code area. When the method is called, Scratch will execute the blocks below the matching Define block.
Why use Scratch to create games?
Scratch is a popular online coding tool for kids and adults of all ages. The platform is compatible with most Android tablets and desktop PCs. It’s also a great location for novice programmers aged 8 and above to learn the principles of coding through block-based coding.
Scratch is a powerful programming language for making everything from animations to interactive stories. Scratch is most recognized, though, for its use in video game creation. You’ll discover an incredible collection of video games in the Scratch community, which is constantly updated and expanded. You may learn game curation using Scratch through coding lessons for kids at this website. Scratch is perfect for engaging games because it allows players to input data while also giving them almost total control over the code.
Scratch game categories
To learn how to develop a game from scratch for beginners, you must first grasp how the platform and other games work.
Players click on-screen Sprites to win points for each successful action in a clicker game. Perhaps it’s getting points via clicking tacos, with the smaller and more difficult tacos receiving more points.
Move a sprite around to win points in this chase game. Perhaps it’s a shark pursuing fish, earning points each time it comes into touch with one.
Pong is a game that almost everyone is acquainted with. Children may build a game by directing the paddle with the mouse and knocking the ball back to the opponent’s side in this basic yet engaging activity.
User interface for Scratch
The user interface of Scratch is the area on your screen where the application is shown. The interface is organized into numerous parts or “panes,” each of which has a distinct function, such as selecting blocks to code with, coding, and seeing your code in action. The many components of the interface will be discussed. To learn how to make a game from scratch, you should be familiar with the UI.
The Blocks Color Scheme The block palette has all of the code blocks. The blocks are color-coded by category. These blocks may be dragged into the programming area and used to program sprites or the stage.
The Script Section: Our code gets moved to the scripts section and assembled there.
The Venue for the Performance At this point, we can witness our code come to life! For example, if our code has a “when green flag clicked” event block, we may activate the code by clicking the green flag.
The Information Pane for Sprites It’s a window that shows details about each individual sprite. We may access and change information about our sprites using the sprite info window. This window will appear when you click on the thumbnail of the chosen sprite. In this area, we may also delete and add new sprites.
Pane of Backdrop/Costume Select the middle tab between the “code” and “audio” tabs to access the costume and backdrop panes. To switch between the costume and background panes, select the relevant thumbnail in the sprite info box.
Sound Window Using the last tab in the top left corner of the screen, we may generate and control sounds. You can even videotape yourself!
Toolbar and Tutorials We can import and save projects, as well as undo sprites removals, using the toolbar at the top of the screen. You may obtain a number of instructions on how to accomplish just about anything in Scratch by selecting the “tutorials” option.
In part 2 we will talk about the actual coding section of Scratch.
Interested in progressing your coding skills and creating something amazing but not sure where to start? Coding and Creative lessons are now offered at codingclub.org.
Contact us at [email protected]


